Ever wondered how artists such as Billie EIllish, Olafur Arnalds, Nils Frahm… achieve a warm and soft piano sound ? This article will tell you all you need to know about recording felted upright & grand pianos.

|
☞ Did you know ? “Insouciance” by Sarah Coponat, recorded mixed and mastered at Coponat Records, was selected on many of Spotify’s editorial piano, including Peaceful Piano, and amassed over 10M streams ! |
-
- Preparing the piano & felt selection
- Mic selection & preparing the room
- Mic placement & soundstage
SETTING UP
PREPARING THE PIANO AND FELT SELECTION
Like for every piano recording, the piano itself should be in excellent condition and well-tuned to ensure the best possible recording quality.
The “felt” strip is chosen based on its thickness and density, which directly influence the muting effect and tonal quality of the piano. It doesn’t have to be made of felt. Regular fabric can also be used.
The strip is placed between the piano strings and hammers.
Thicker fabrics produce a more pronounced dampening, creating a softer, more subdued tone, while thinner felts allow more of the piano’s natural brightness and dynamics to come through.
A con, is that by reducing the sound output of the piano, we artificially raise the noise of the recording. This includes microphone and preamp self noise, piano keys and the sustain pedal lifting up and down, various crackling sounds coming from the hammers, air coditionning, computers, camera and cinema light’s cooling fans…
Choosing how much we choose to dampen the sound must take all these informations into account. A mic and preamp with lower self noise, and a well serviced piano allow for thicker felt to be used with less compromises in the mixing & mastering stages.
This preparation stage is crucial for capturing the intimate, warm sound characteristic of the felt piano, setting the foundation for a successful recording session.
IMPORTANT TIPS AND TRICKS
Varying the distance between the felt and the strings changes the dynamics by slowing down the hammers. When the felt is too far from the strings, the keyboard feels heavier. Generaly, the closer the felt can be placed to the strings without touching them, the better.
When two notes are ringing when hit by a hammer, this is due to the felt hitting both notes. It often happens at the outer sides of the felt strips (the strip is often seperated in two or three parts) you can create a vertical cut in the felt between these notes to get rid of this. This is most prevalent with thicker felts.
At Coponat Records, we did vertical cuts between all the notes on our felted grand piano’s strip. This has the dual benefit of making the felt strip feel lighter when hit by a hammer (only a small part of the felt is lifted, which enhances the dynamics), and seperating every note.
|
⚠ Warning If tape is used to fix the felt strip to the piano, it can sometime make unwanted clicky noises, especially if it becomes loose. |

The felt on our grand piano has been cut vertically

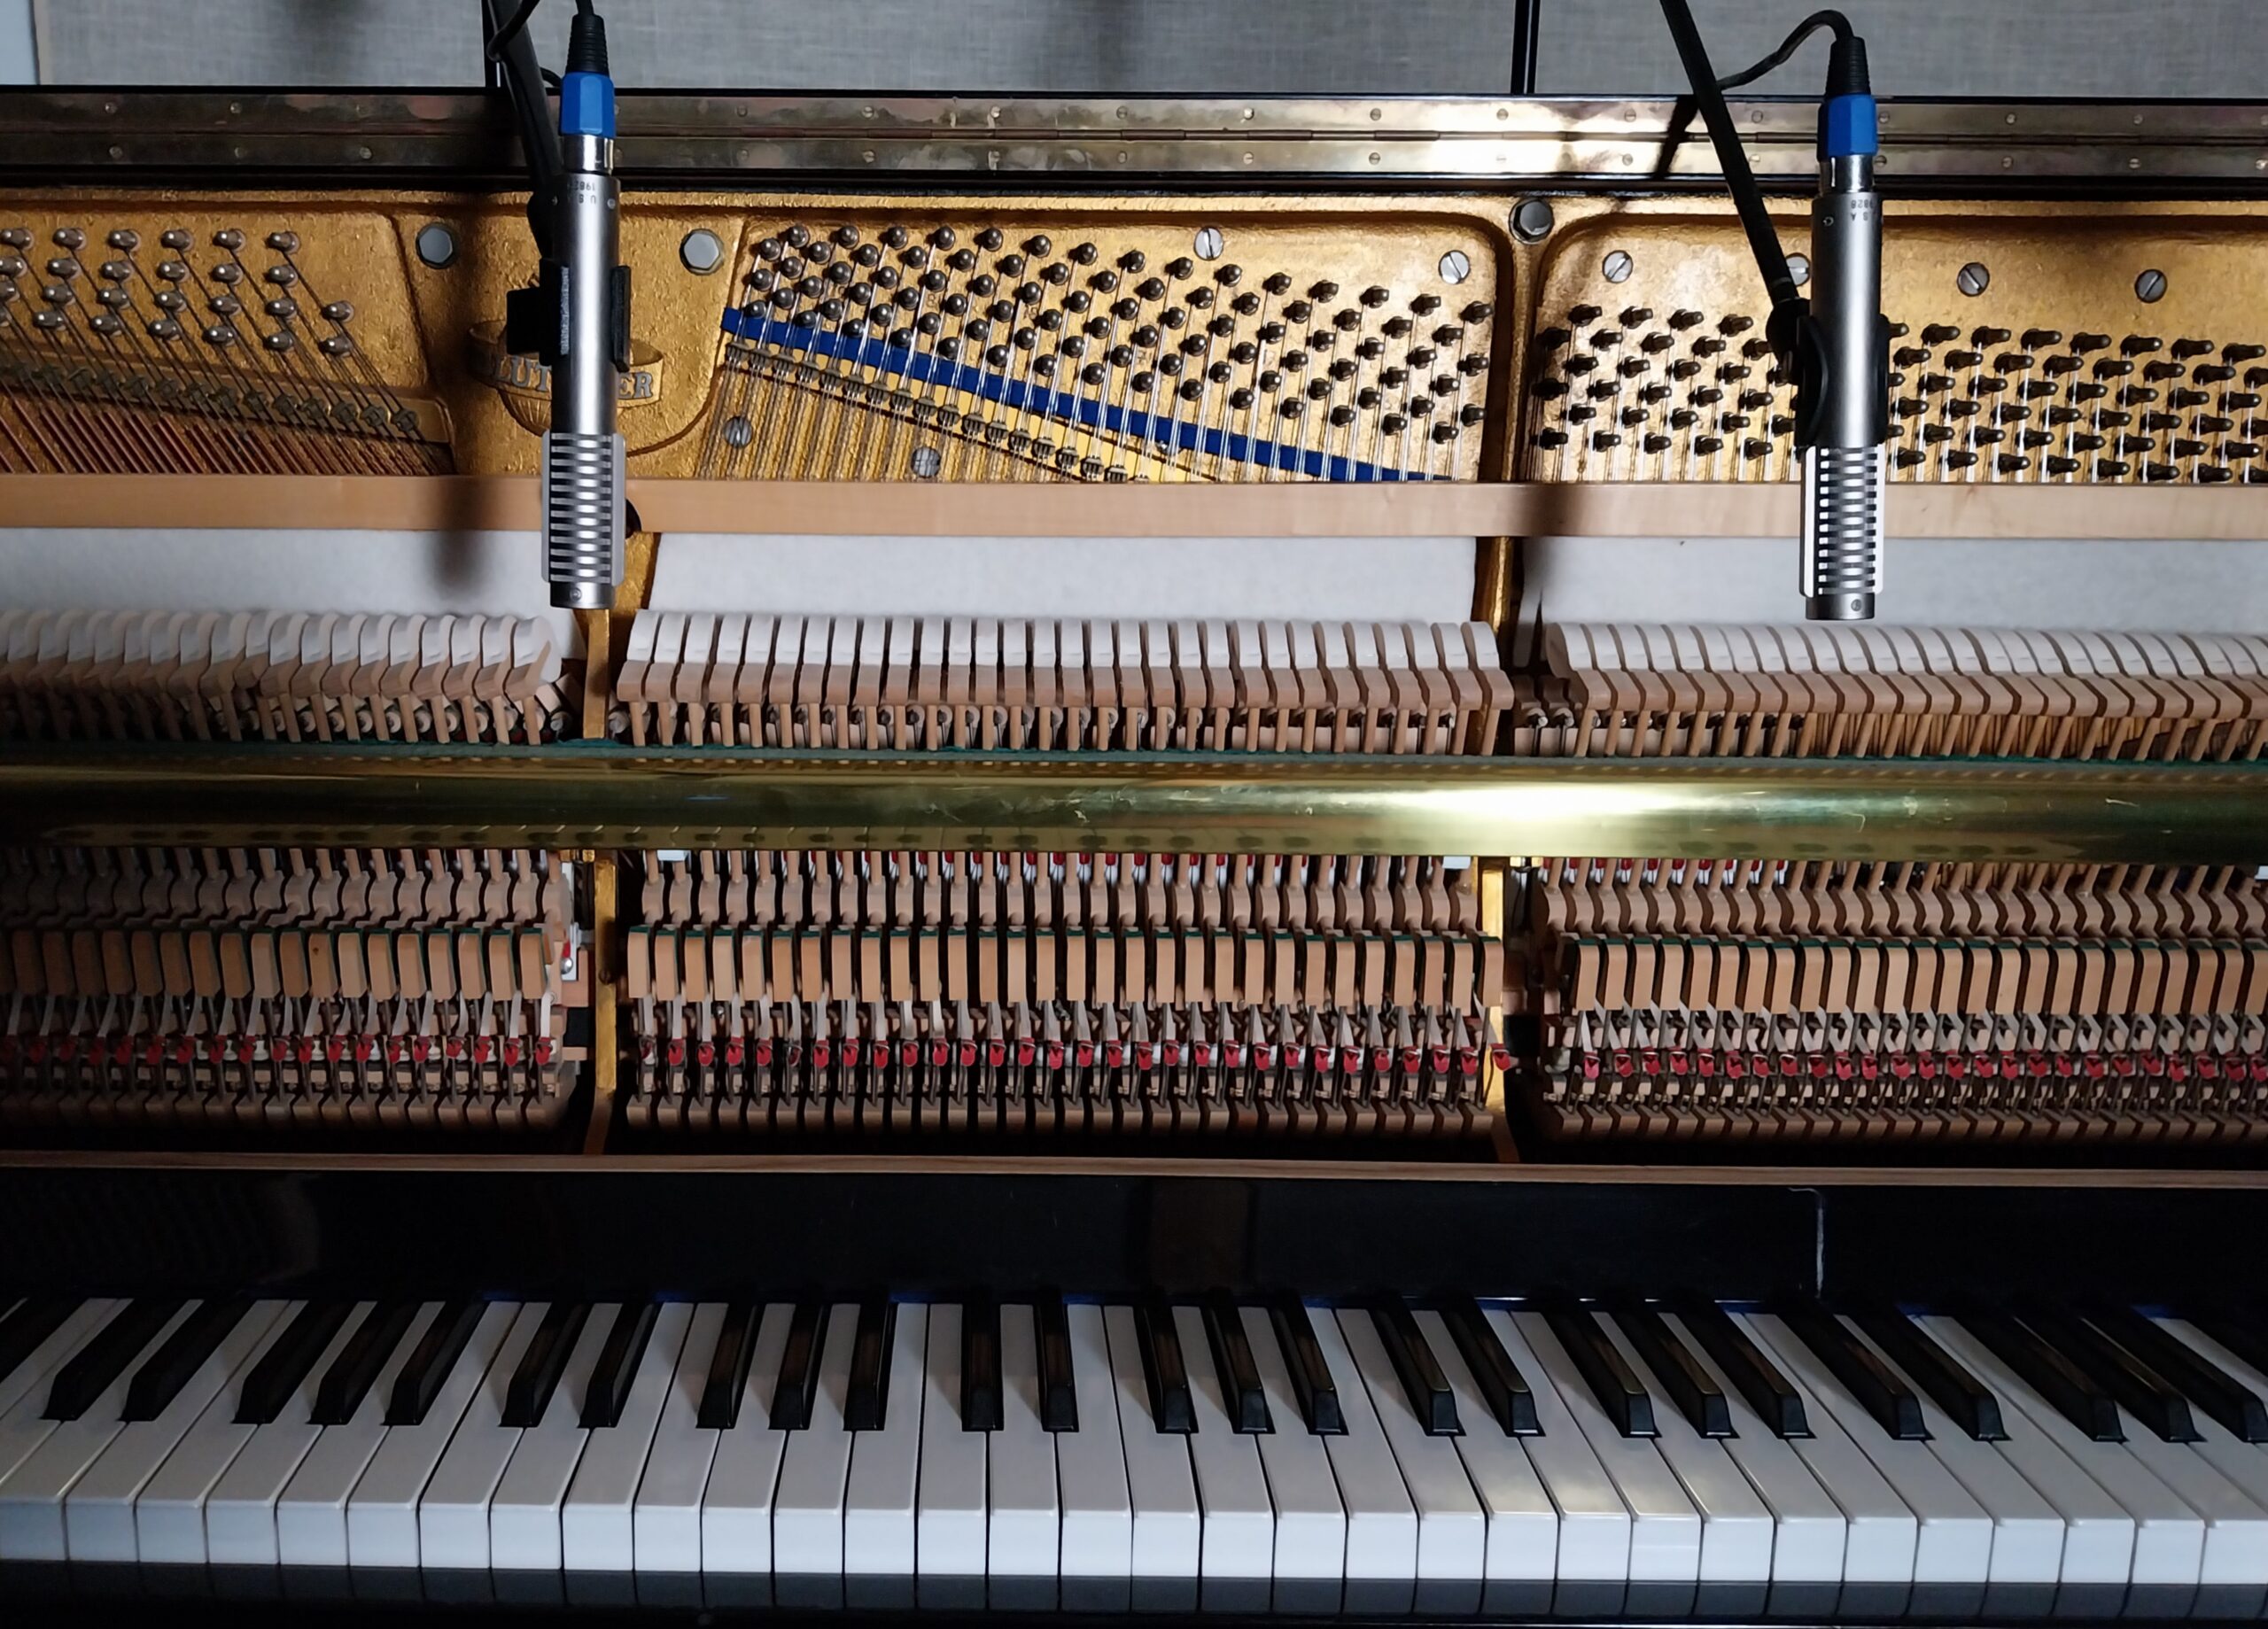
A verticlal cut on our upright piano’s felt
SELECTING A MICROPHONE AND SPACE TO RECORD
When recording a felt piano, three primary concerns guide our microphone selection: the desired soundstage, the tonal characteristics of the microphone, and acceptable noise levels.
SOUNDSTAGE AND MICROPHONE SENSITIVITY
Generally, omnidirectional condenser microphones and those with large capsules are preferred for their sensitivity and lower noise levels compared to other types. These microphones capture a more detailed and open sound, essential for the nuanced tones of a felt piano.
Ribbon microphones, known for their very low self-noise due to the absence of active electronics, require significant gain from preamps due to their low output, making them another viable option if preamp quality can support it.
The soundstage also depends on microphone placement, which we will address later.
At Coponat Records, we like using Schoeps, Royer and Coles microphones, with AEA preamps. See more in our gear list.
MANAGING NOISE AND FREQUENCY RESPONSE
If we have a noisy piano, we have to be careful about choosing a microphone that will dampen the high end. The piano might sound too dull when we record it, and raising the high end to compensate for it in the mixing process will make a lot of unwanted high-piched noises stand out more.
Felt pianos often have a rich low end, so choosing microphones with a linear response down to 30Hz is appreciated. While microphone specifications might claim a frequency response from 30Hz to 20kHz, it is important to ensure the response is linear within this range to accurately capture the piano’s full spectrum.
SIGNAL-TO-NOISE RATIO (SNR)
Manufacturers typically provide an SNR (Signal-to-Noise Ratio) specification for microphones, indicating the noise level. Comparing SNR values helps identify the quietest microphone, but ensure that measurements are made using the same weighting and bandwidth for accurate comparison. Lower noise in the signal chain grants greater flexibility during mixing and mastering.
ELECTROMAGNETIC AND ROOM NOISE
Electromagnetic noise, caused by poor shielding or grounding, can be introduced by air conditioning, lighting, or nearby electronic devices. Room noise is another significant concern, best measured with a sound level meter. Recording in a quiet environment—away from computer fans, household appliances, and potential disturbances—ensures the cleanest possible capture. Ideal recording times are typically at night or in well-isolated studios to avoid external noise pollution.
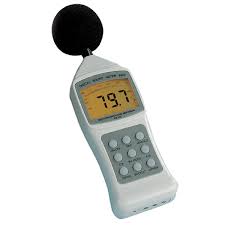
A digital sound level metter measures how low your room noise is
SUMMARY
In summary, careful consideration of microphone type, noise levels, and frequency response is essential for capturing the felt piano’s unique sound. A well-chosen microphone setup minimizes unwanted noise, preserves the piano’s rich tonal qualities, and provides a better foundation for the mixing and mastering process.
PLACING THE MICROPHONES
Most recording techniques can be achieved with a stereo pair of any microphone type, typically omni, cardioid, or figure 8. Notable exceptions are ORTF, MS and binaural recordings, that require specific combinations of microphones.
My experience, is that when possible, if the room sounds good omni microphones are usually a superior option due to their openess, sensitivity and wide frequency response.
Our upright piano has a lot of crackling coming from the mechanic, so in most cases we place the microphones slightly higher than the hammers to try mitigating the noises.
|
⚠ Warning It is always better to get the stereo right by moving microphones physically, than by using plugins in your digital workstation. Notably Left/Right balance, and stereo width ! |
UPRIGHT PIANOS
ORTF ♥♥♥♥♥
ORTF is a technique that aims at achieving the recording resembling human hearing’s soundstage. It is achieved with two cardioid microphones. Bluemlein is a similar alternative with figure 8.
The microphones, usually pencil condensers, are spaced 17cm appart in a 110° configuration, 10 to 40cm away from the piano strings, facing the strings. The height can be from hammer height to sligthly above to get more hammer or ambient sound.
The horizontal placement has dramatic effects on the soundstage perception, and should be finely tuned to taste for a good L/R balance.
The L/R mics are panned hard left and hard right in the DAW.


ORTF setup with cardioïd pencils, raw audio, no EQ & Compression
A-B ♥♥♥♥♥
The AB technique aims to achieve a recording that captures a natural and spacious soundstage. This method uses two microphones, placed in a spaced pair configuration.
They are usually cardioïd or omni. Omni microphones will usually provide a fuller, and cardioid microphones a more detailed soundstage with stronger L/R separation. Omni microphones should also usually provide a slightly deeper bass.
In an AB setup, the microphones are spaced apart (around 40-60cm) and parralel to each other, directly facing the strings. They are positioned 10 to 40cm away from the piano strings. The height can vary from the level of the hammers to slightly above them, depending on whether you want to capture more of the hammer sound or the ambient sound.
The horizontal placement should be centered around the keys used in the piece, and adjusted to achieve a good left/right balance.
In the DAW, the L/R microphones are panned hard left and hard right.


A-B setup with omni pencils, raw audio, no EQ & Compression
A-B setup with cardioid pencils, raw audio, no EQ & Compression
A-B setup with figure 8 ribbons, raw audio, no EQ & Compression
A-B setup with figure 8 ribbons, noise reduced, no EQ & Compression
When a pair is too spaced appart, a “hole” in the middle of the soundstage can appear. Microphones can be made closer to each other, or we can add a third microphone, in a LCR configuration. When the room is too echoey, then cardioid microphones are a better choice.
Room microphones can be added to taste.
M/S ♥♥♥
When using M/S, the side microphone, a figure 8, is hard panned left, duplicated and phase is inverted, and then it’s hard panned right. The center microphone is usually a cardioid microphone. The mid microphone faces the strings.
This method usuallty introduces most of its noise in the recordings through the side microphone (microphone/preamp self noise is 1.5 times louder), and has a stereo that is suitable for arrangements not centered around the felted piano sound, with the benefit of great mono compability.

M/S setup with figure 8 ribbon and cardioid, raw audio, no EQ & Compression
M/S setup with figure 8 ribbon and cardioid, noise reduced, no EQ & Compression
GRAND PIANOS
Installing the felt can be a tricky process with grand pianos, but once it has been done, they are the ideal choice. They often sound richer, fuller, and the soundstage they provide is superior to upright pianos’.
A-B ♥♥♥♥♥
In an AB setup, the microphones are spaced apart (around 40-60cm) and parralel to each other, directly facing the strings. They are positioned 10 to 40cm away from the piano strings. The height can vary from the level of the hammers to slightly above them, depending on whether you want to capture more of the hammer sound or the ambient sound. In the DAW, the microphones are panned hard left and hard right. The horizontal placement should be centered around the keys used in the piece, and adjusted to achieve a good left/right balance.